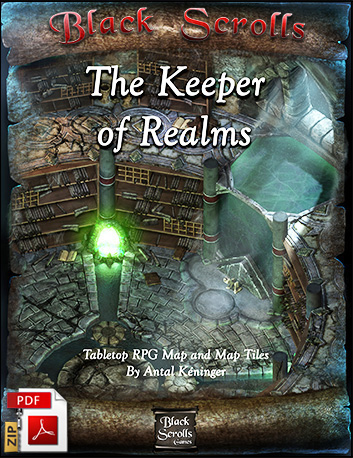
Sign up for our newsletter and download The Keeper of Realms for free!
It's a printable PDF tabletop Role-playing game map with adventure hooks for Game Masters.
Once there was a library, protected by a small group of wizards. They called themselves The Keepers of the Realms and they hid their secret from the eyes of the word. Emperors, kings and adventurers were not be able to get close to them; The Keepers knew their secret would be devastating in wrong hands.
But, one day an initiation ritual went wrong and their monastery met its end. The Keepers vanished from the Earth. Only the ruins remember them.
The Library is still hiding those black leather scrolls they protected for thousands of years.
What was contained in them?
Why were they so important for The Keepers?
It’s up to your team to figure it out!
This product includes maps with area descriptions, adventure hooks and ideas Game Masters can use and bend to their own story.
Features:
![]() Extra realistic and scenic 3D based graphics which makes your adventure more thrilling.
Extra realistic and scenic 3D based graphics which makes your adventure more thrilling.
If you are the type who likes the wonderful and breathtaking visual worlds of movies and games, then you can relive them on your gaming nights sitting around a table in your home (or online) with your friends.
![]() High quality, high resolution 300 DPI , which allows you to print them in photo quality at home or in any print shop and enjoy the amazing graphic while you’re playing with friends
High quality, high resolution 300 DPI , which allows you to print them in photo quality at home or in any print shop and enjoy the amazing graphic while you’re playing with friends
![]() Isometric visual aid: you will get the isometric version of the map that you can show your players or use as a handout in your adventure. It makes the area descriptions easier and provides the players with more immersion.
Isometric visual aid: you will get the isometric version of the map that you can show your players or use as a handout in your adventure. It makes the area descriptions easier and provides the players with more immersion.
![]() The maps and the tiles are in PDF format that can be easily printed
The maps and the tiles are in PDF format that can be easily printed
![]() You will get full map and the tiles in JPG format, too, that you can use with any virtual tabletop program
You will get full map and the tiles in JPG format, too, that you can use with any virtual tabletop program
![]() Printable Handouts!
Printable Handouts!
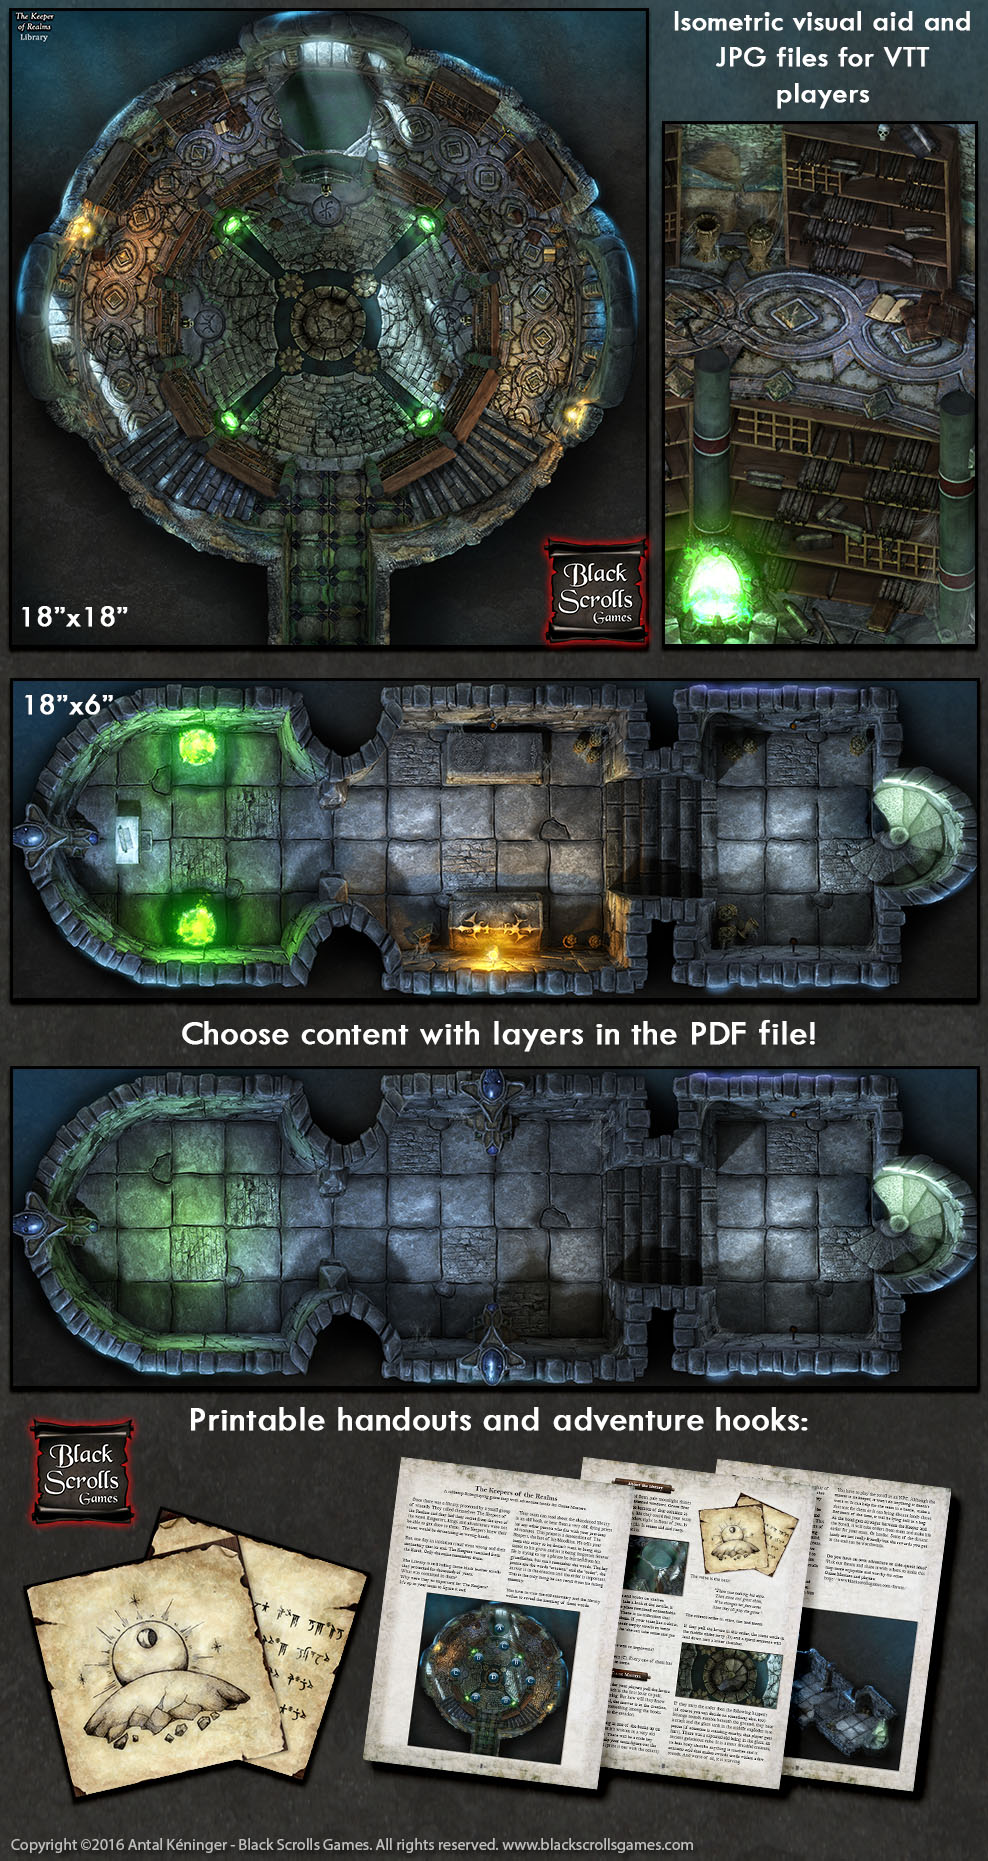
Image format:
- 1" game tiles
- Size: 18x18, 18x6 inches
- PDF: U.S. Letter, 300 dpi
- JPG: 300 dpi
About the creator (click to open)
Who creates these maps?
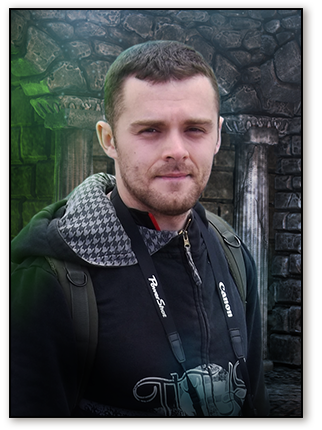
Hi, my name is Antal Kéninger, a graphic artist from Central Europe. I’m the guy behind Black Scrolls and I’ve been in the tabletop game business for seven years, working with other publishers and playing with friends on the weekend (when we all have time for it).
One of my customers wrote me to say:
“The quality of the artwork and colors blew my players away.”
Believe me, I was really glad to hear that! To help you understand how I made it happen, let me walk you through my process for creating these maps (you can follow these steps in pictures on my Black Scrolls Games Facebook page):
1. The first thing I do is draw sketches for the map and figure out what 3D models I need to make it real.
2, I sculpt them in Pixologic Zbrush. Every model that you can see in the maps is modeled and textured by me. I don’t use models form other artists or free ones from the internet. Zbrush is a professional modeler program used by many studios like Industrial Light and Magic (Pirates of the Caribbean, Jurassic World), Weta Digital (The Hobbit) and many game studios. It allows me to make my models really detailed and realistic.
3. Next, I save what I sculpted and start building up the map in LightWave 3D, the software used for Titanic, X-Men, Iron Man and Skyfall (of course, the quality depends on the team and the artists, not the software.) I started learning this program about 15 years ago. I really liked it because it provided me freedom and creativity (and only this program would run on my Pentium 1 - 133mhz PC I used when I was young…)
4. I set up the lights to get the best results (not too dark, not too realistic for the fantasy setting and achieve the style I like working with). I set up the materials, make some test renders and add a lot of additional detail to the final version in Photoshop.
As you can see, I don’t really like the full top-down view. In most of my maps you can see the side of the walls, too. It makes the area look more alive, lets me add more details and make a “3D game” feeling for the players around the table.
5. I write the background stories with the help of writers, proofreaders and of course, my friends.
6. Finally, I assemble the PDF file, set up the files for print and release them for you.
This is the process for how the maps are created. I hope you will also enjoy them, at least as much as I enjoyed working on them!
Share it with your friends!