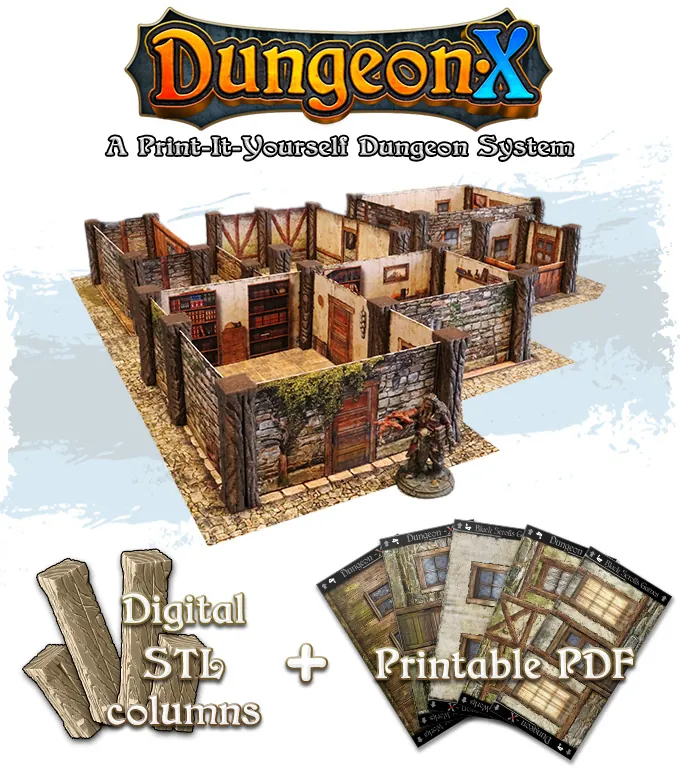
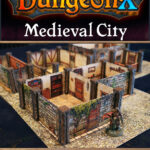
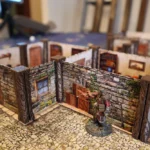
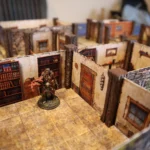
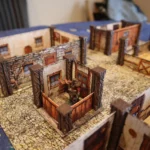
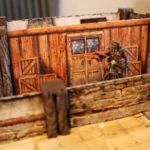
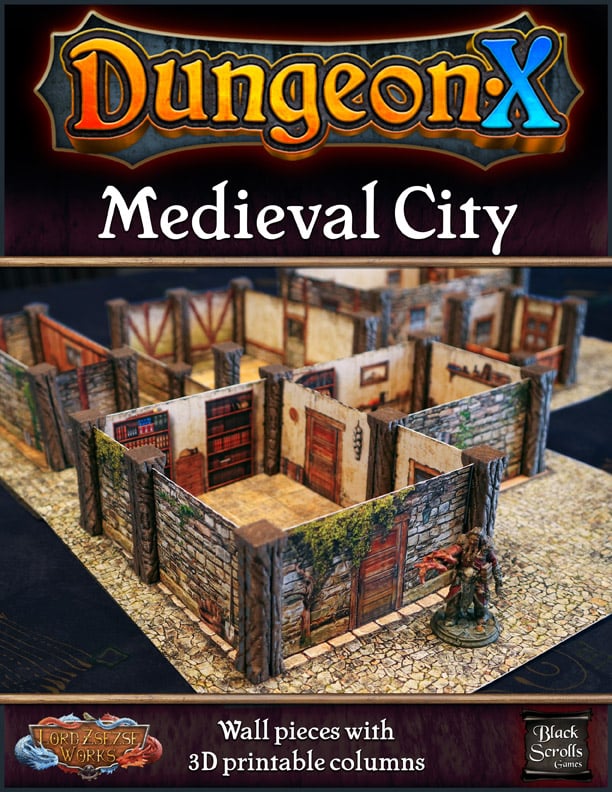
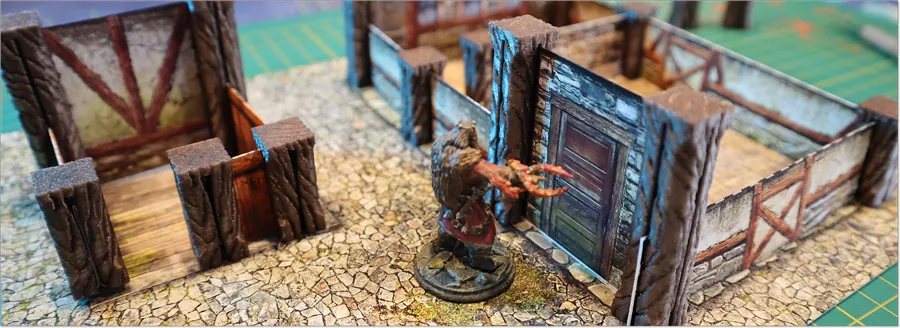
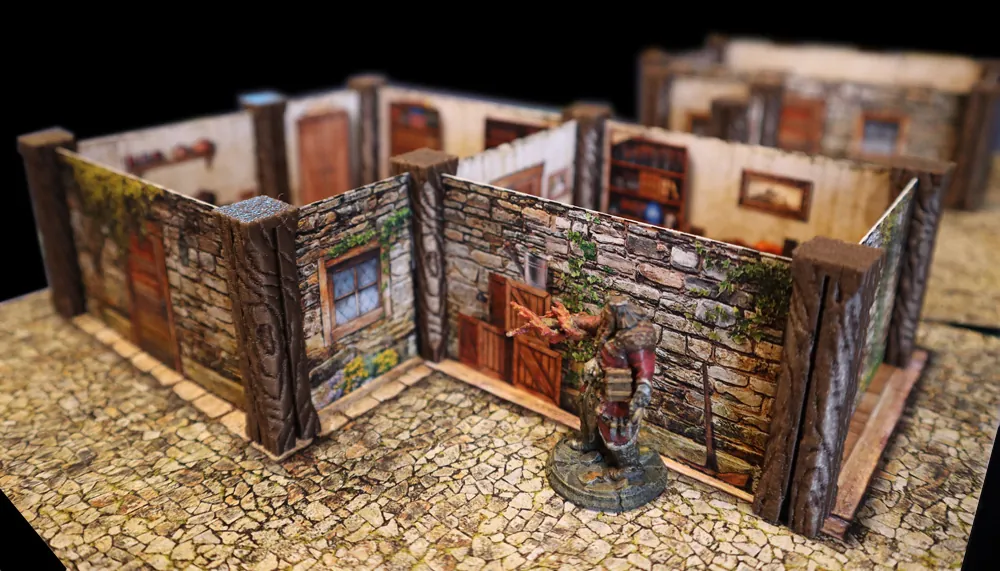
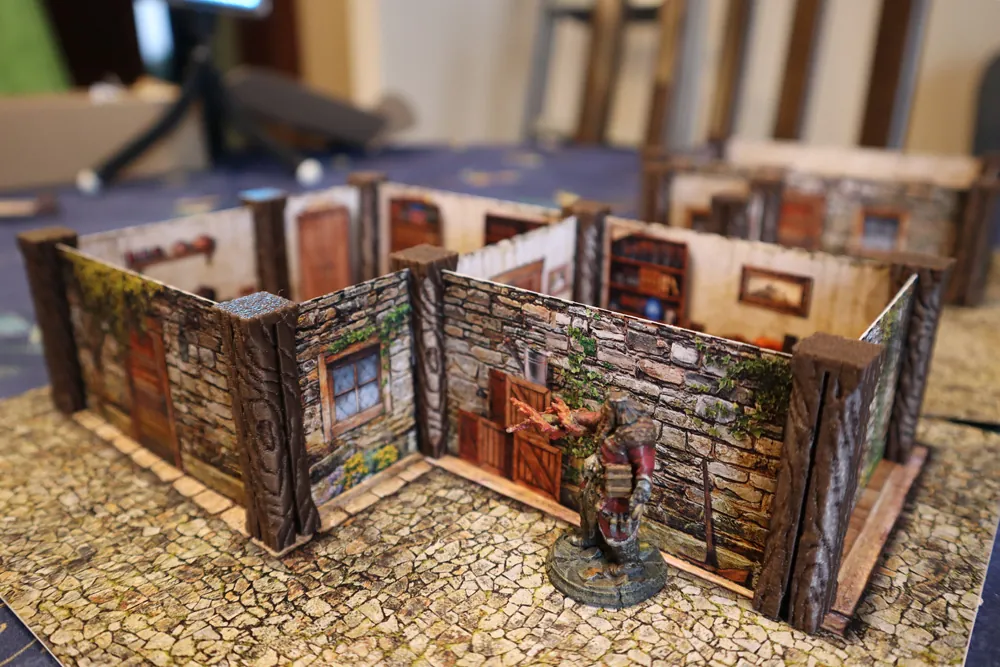
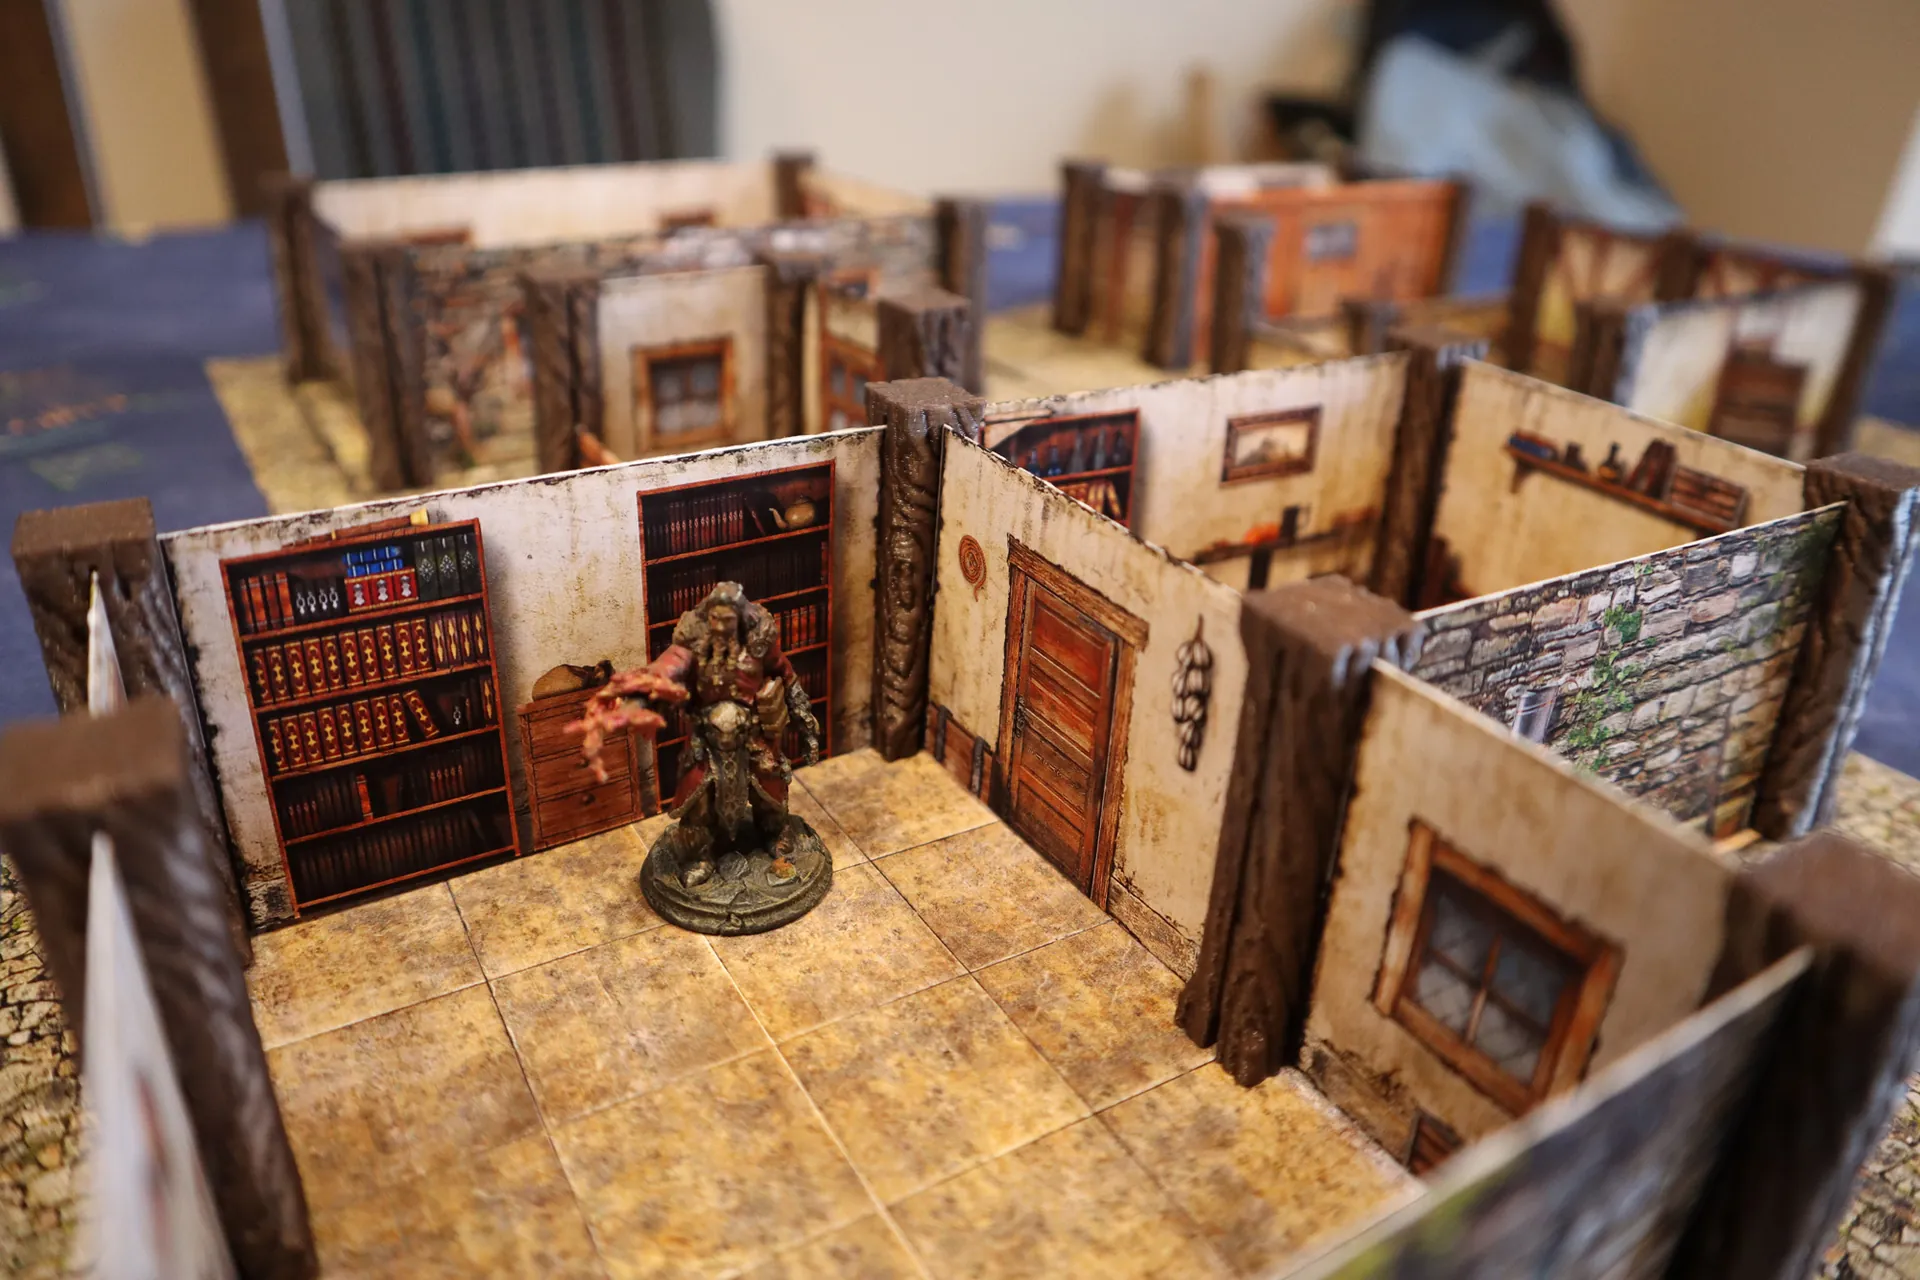
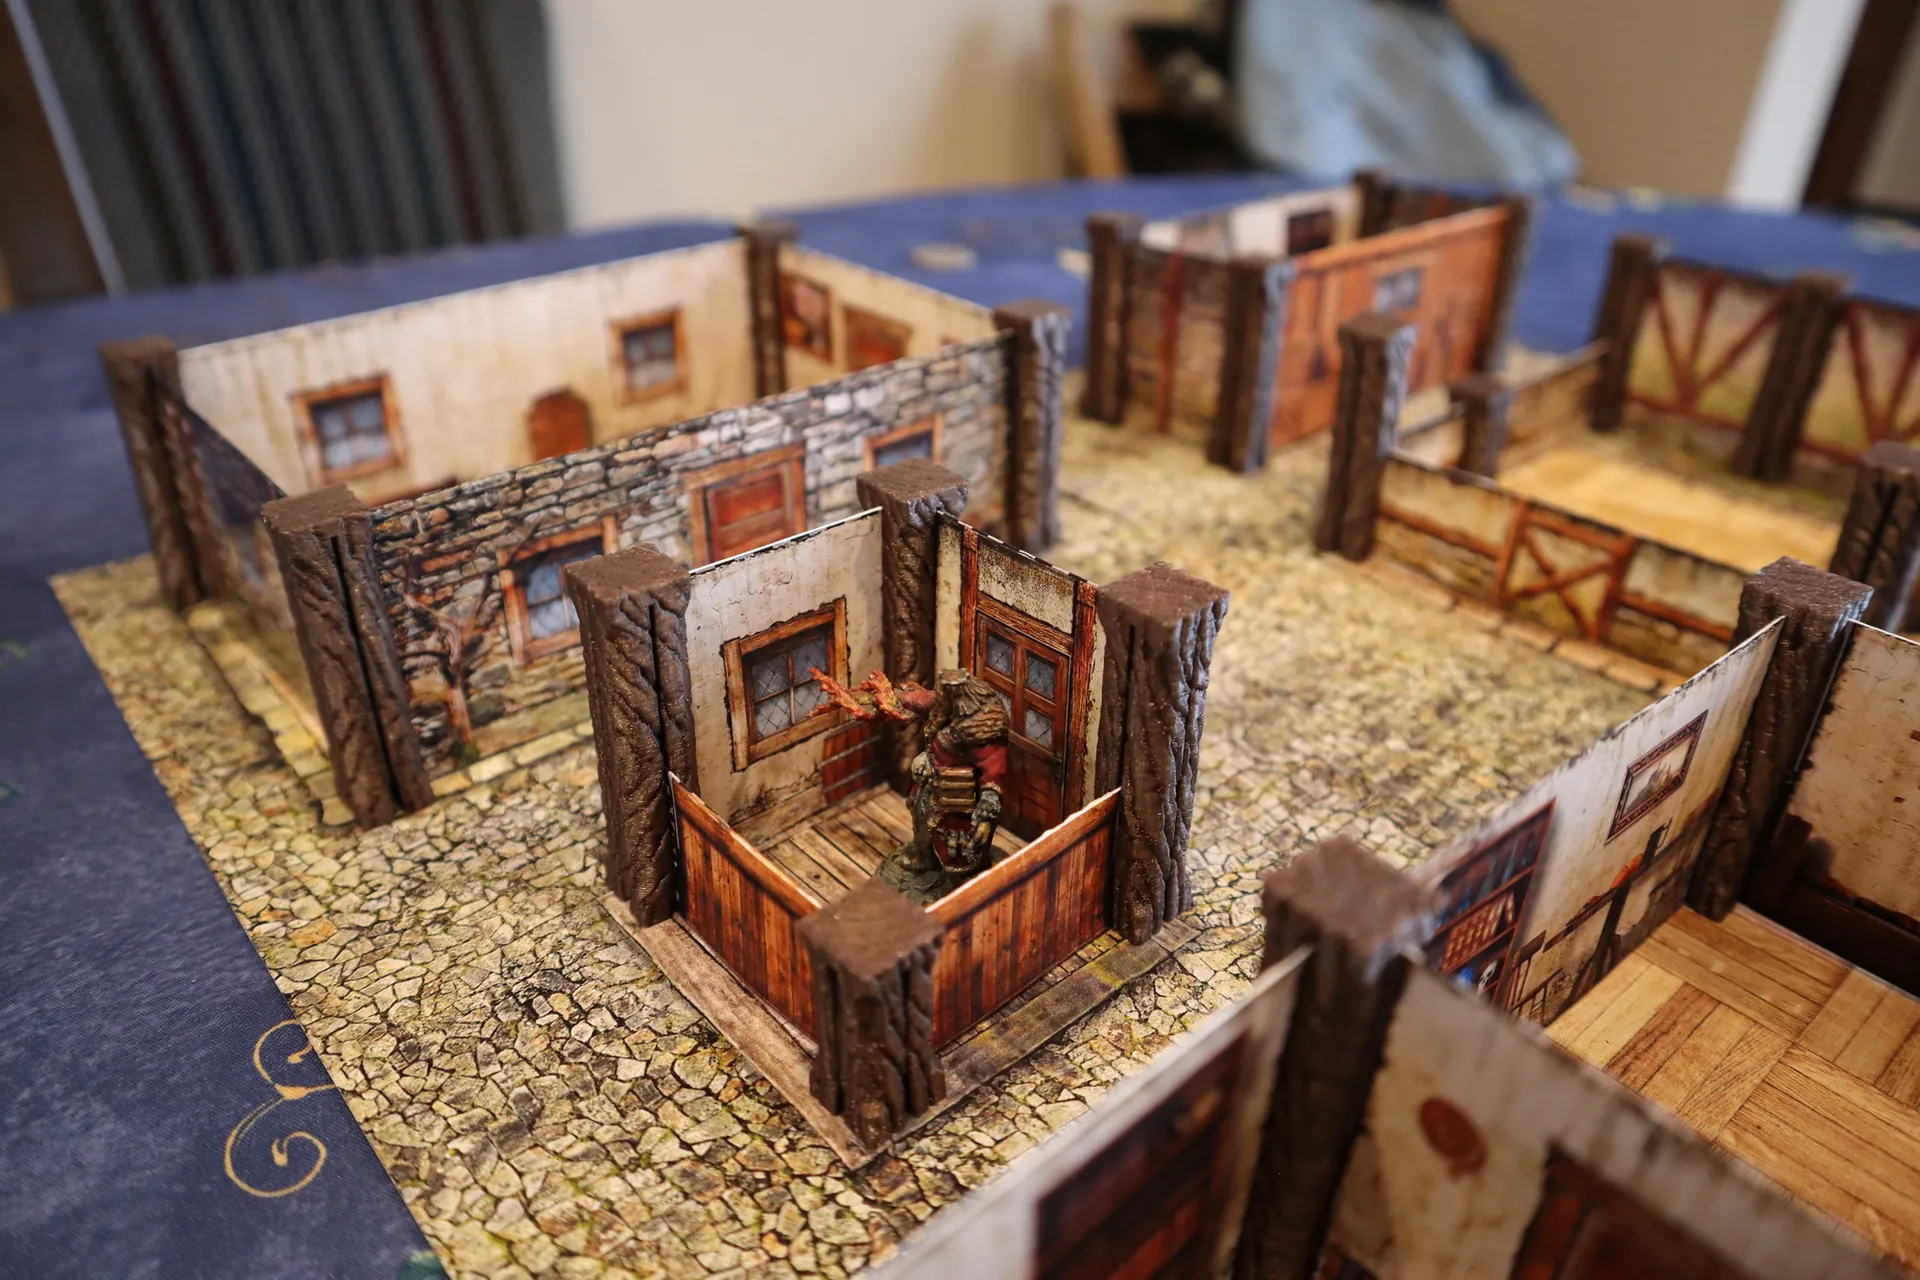
A truly cost-effective, print-yourself dungeon that is spectacular but doesn’t
require any additional painting work and you can set it up in no time!
How it works:
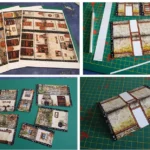
Print walls
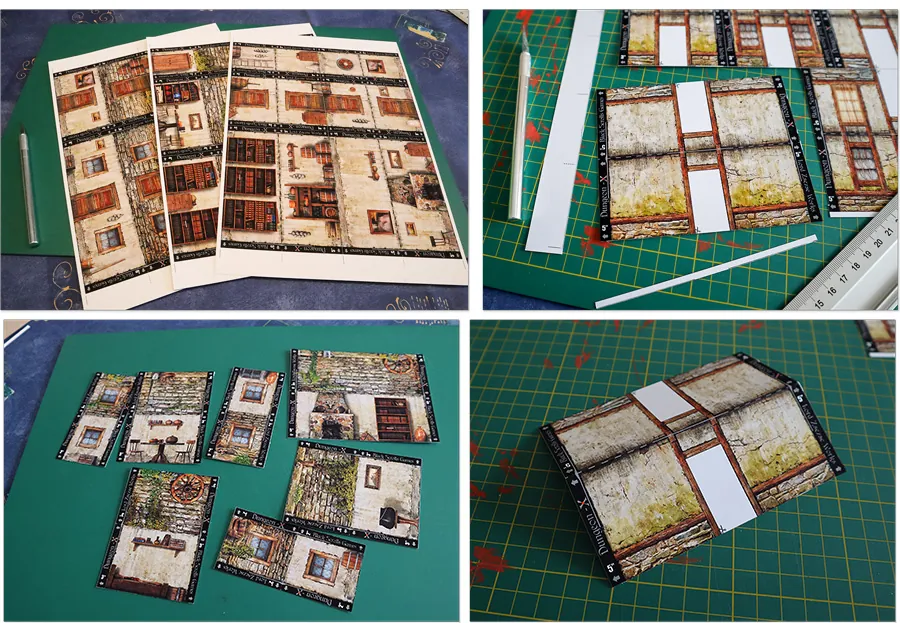
Print out the wall pieces and cut them out easily along straight lines, then fold them in half.

3D printing columns
Print out as many as you need (You’ll find half-tall columns for the half-tall walls, too)
Assemble them
Push the walls into the columns.
That’s all, enjoy your medieval city!
And reuse the parts, building different layouts every time!

Details
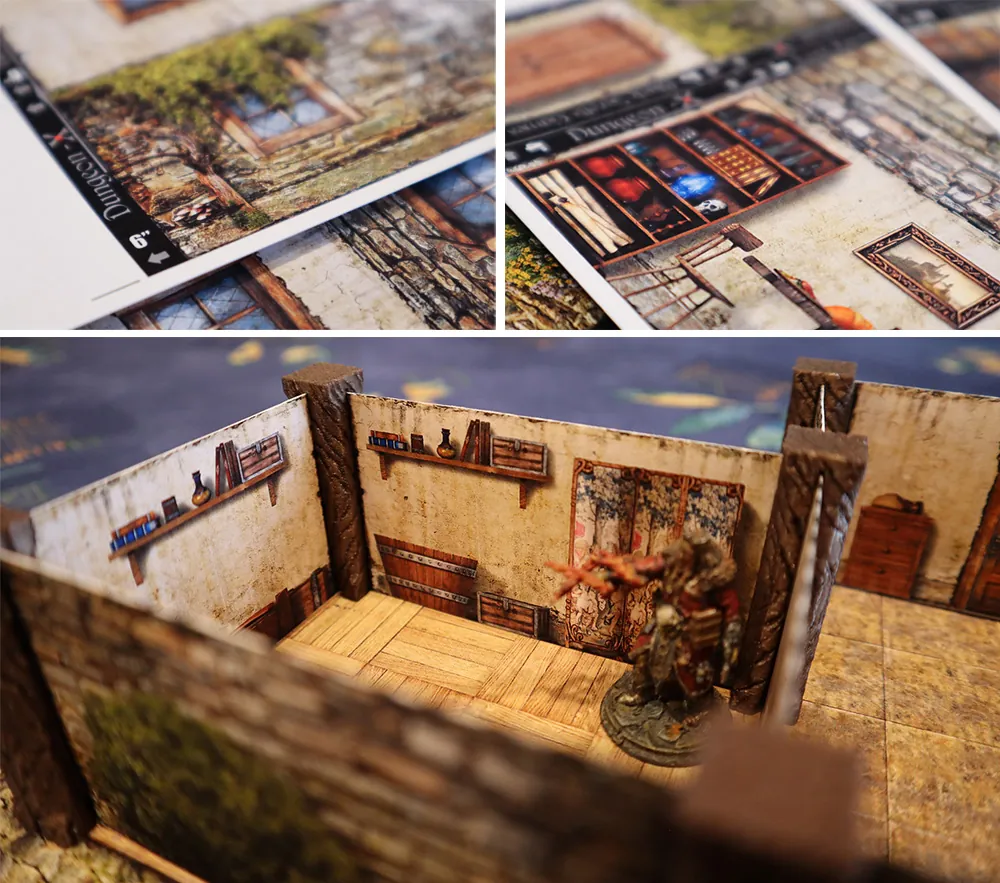
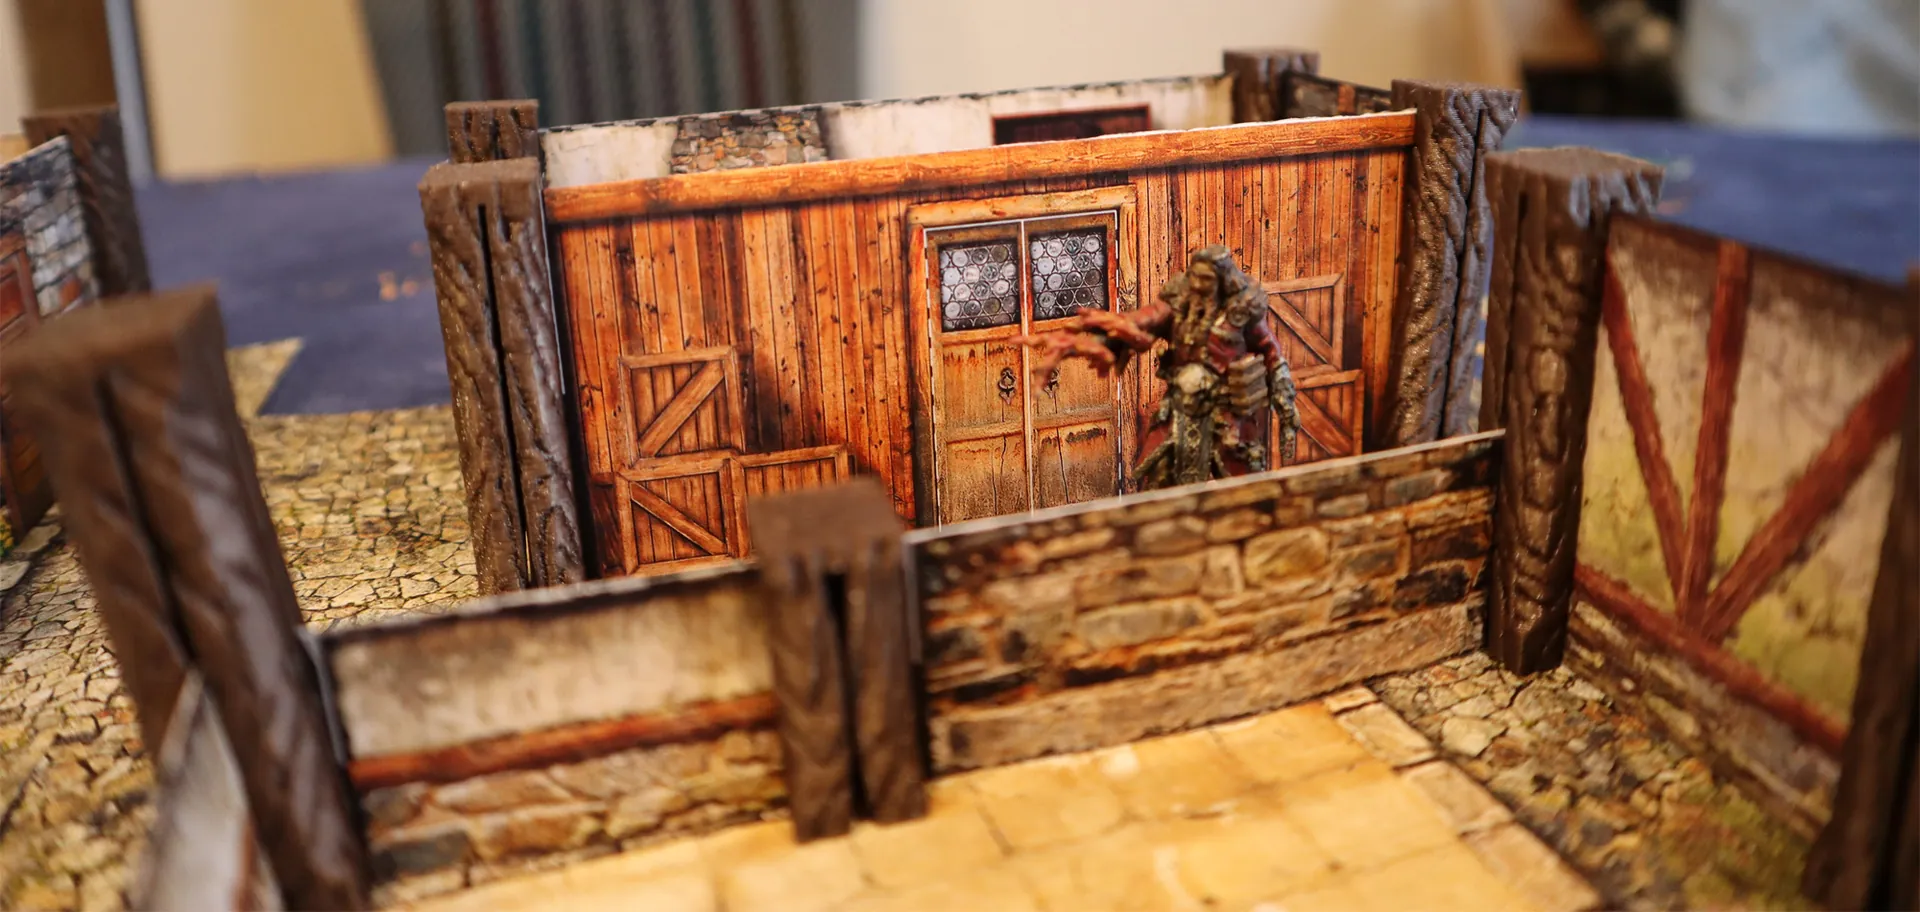
The columns are 3D-printable and they look nice even without painting (not a single one was painted in the photos), the walls and columns were designed by the graphic artists of Lord Zsezse Works and Black Scrolls Games for the best result.
How to print them at home:
We have an Ender 3 pro and we used brown PLA filament to print them, at 0.2mm / 0.26mm layer height. One basic X-shaped column can print up in 20 minutes and you can use them for every theme, the designed custom columns took 6-8 hours/12 pieces to print.
You can print the walls at home using any inkjet or laser printer (ours were printed with an HP Photosmart inkjet on 190gr matte photo paper, not photo quality but the maximum average quality was selected.) The only additional work needed is to cut them through the straight edges and fold them in half.
You can apply one coat of dry brushing or ink on the columns to get a nice result in no time if you use colored filaments and want a slightly better look.
Store them in your unused filament box, and now you have a system that is small, modular, affordable, and good-looking.
3D columns have three different slot sizes for different paper thicknesses. The normal slot size will work with around 190-gram papers folded in half, the tight one works well with papers of less thickness or the pre-printed card tiles, and the loose will work with ~300-gram papers.

Content
You’ll find an “Information and Basic Walls” PDF, featuring basic wall pieces without decorative elements like bushes or barrels. This allows you to customize the walls with your own terrain pieces if desired.
The whole set features four types of wall pieces:
- Wooden
- Stone
- Plastered
- Tudor walls with wooden beams

There will be some cut-out doors at the end of this PDF file if you want to change them.

Decorated walls
There are mainly three types separated on the pages:
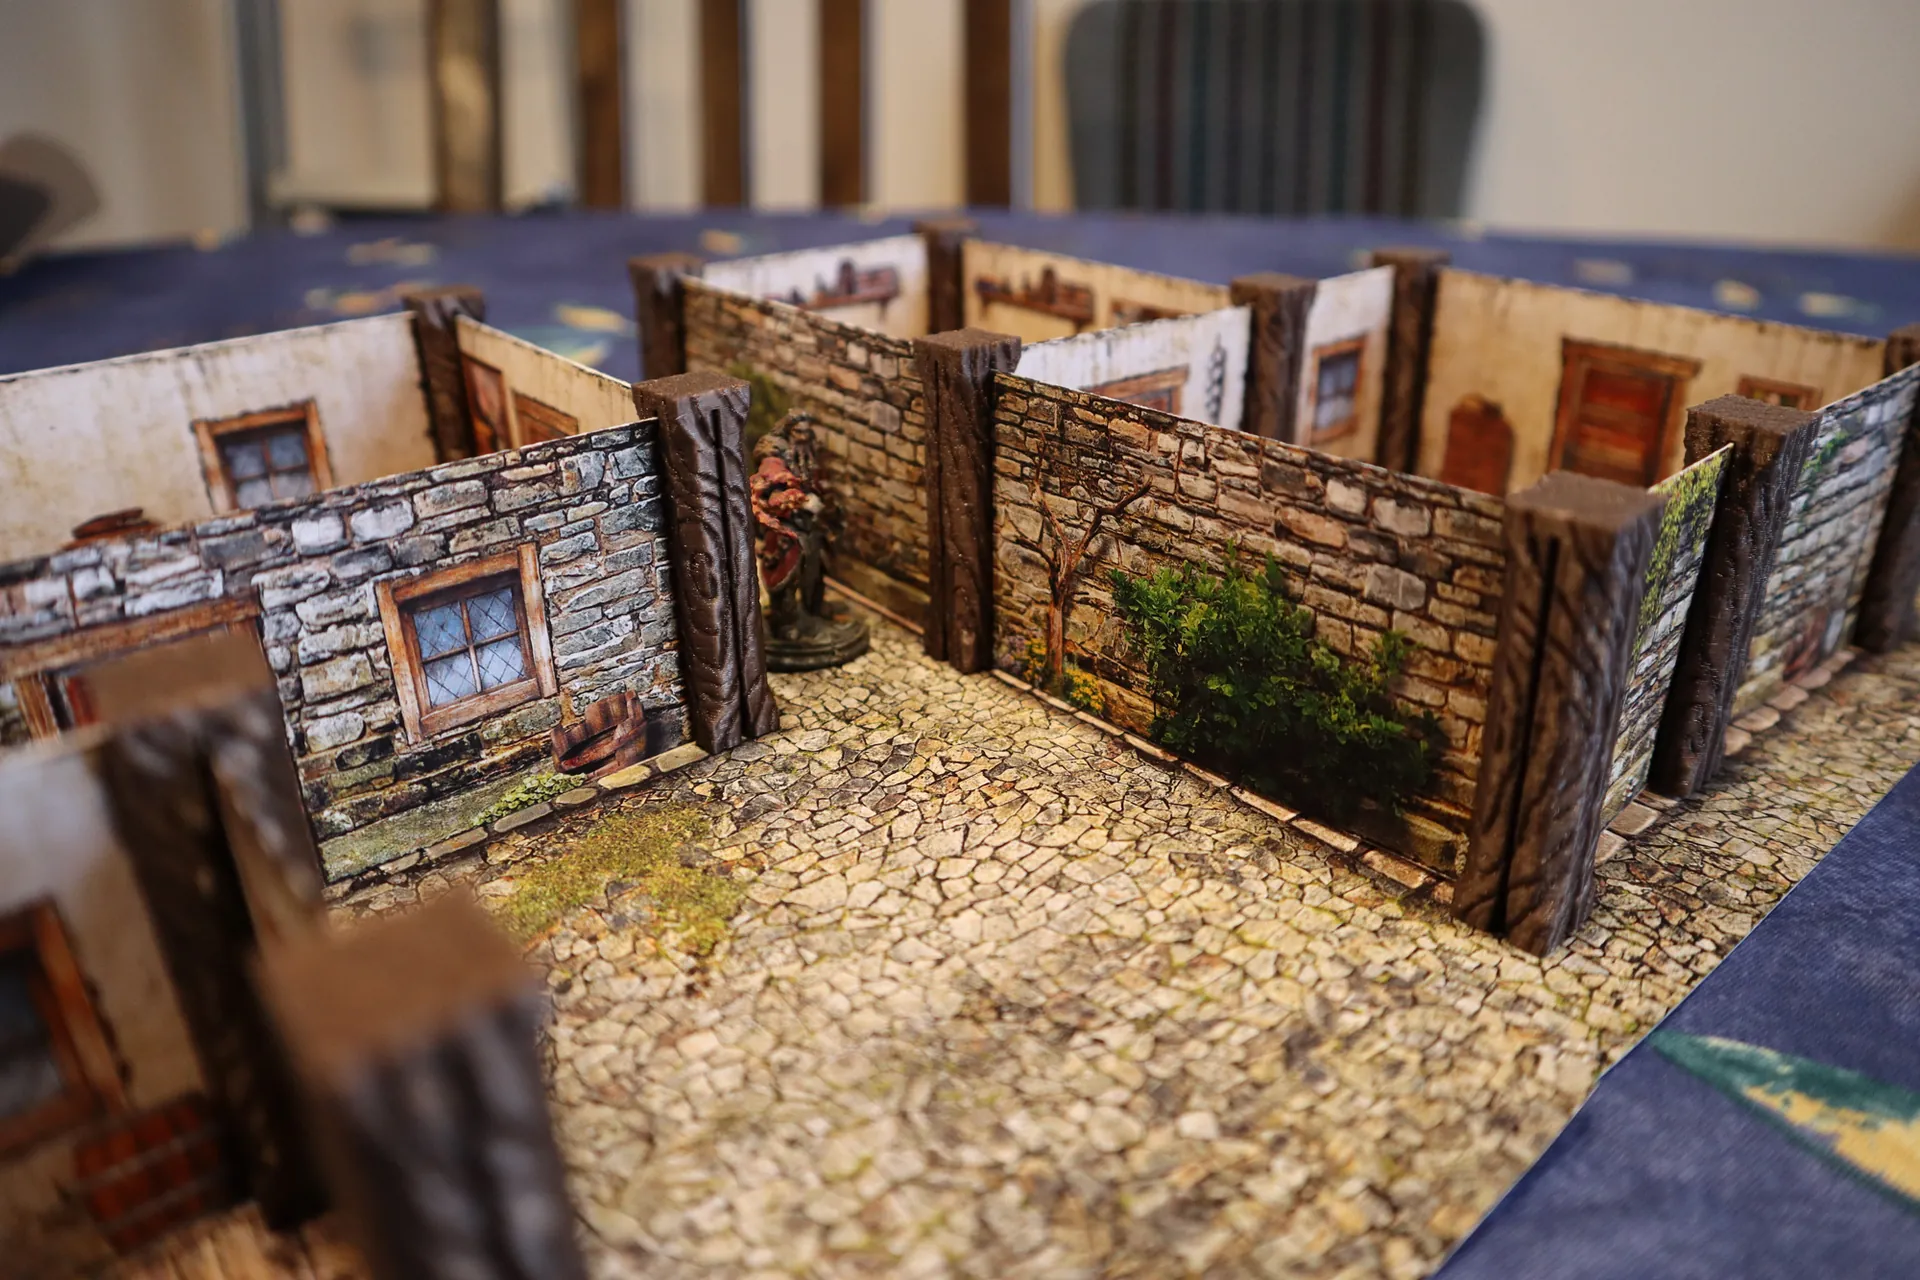
• Fully decorated walls: These have both outer and inner sides decorated.
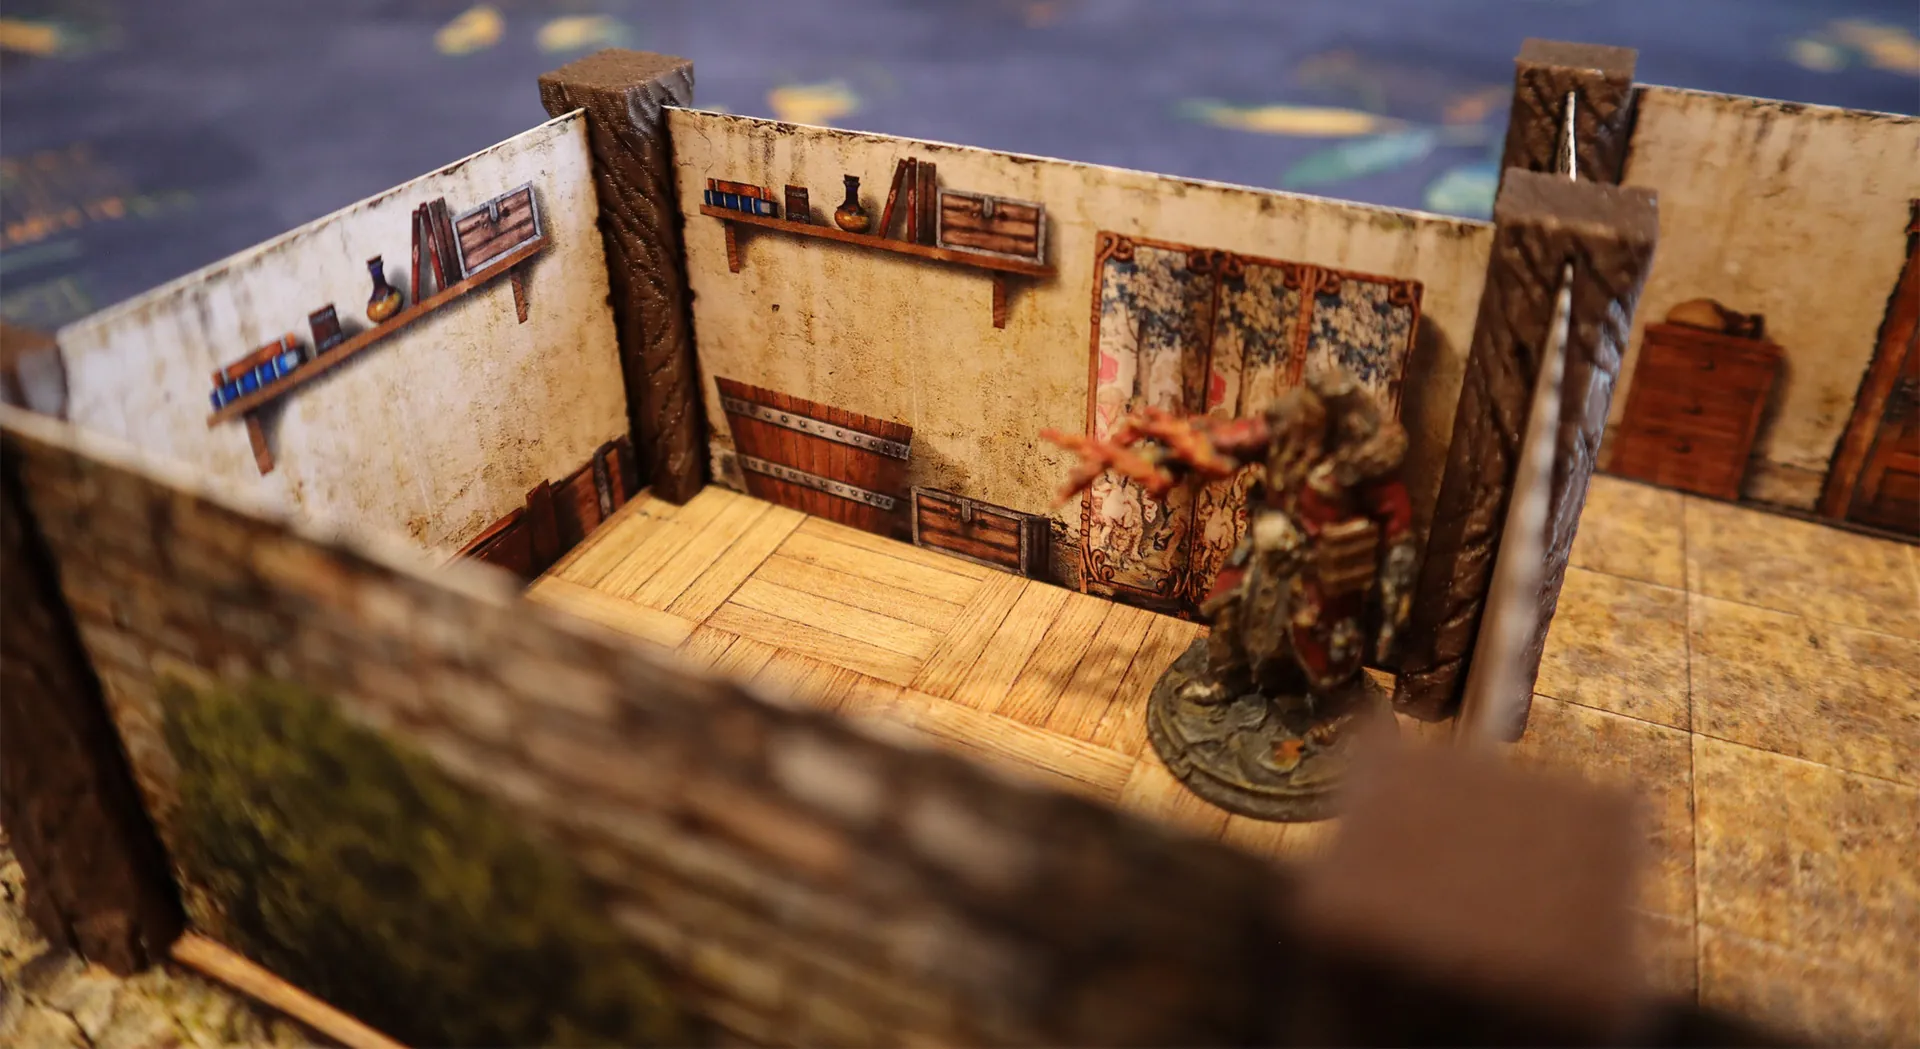
• Inner walls (added as an extra in development): Use these to divide two rooms inside a building (they won’t have ivy and bushes like the outer walls).
• Outer walls decorated only on the outside: Perfect if you want to add your own room details with paper, 3D printed, or other terrain pieces. These have decorations just on the outside.

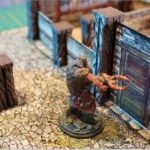
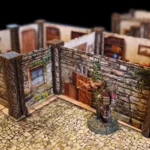
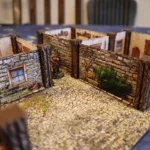
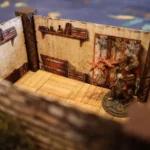
Some photos for a closer look:


Base Maps
This section includes floor plans for your houses with various layouts and bigger areas that you can cut up if needed.
Half-tall walls
They are designed to make your game more playable by keeping miniatures and players visible. You can mix these with the 2” tall walls to add doors or create backdrops with those taller walls. We’ve also included 1-inch tall 3D printable columns in the folder.

Paper columns
If you prefer paper walls over 3D printed ones, this PDF is for you. They might not be as strong as 3D printed columns, but they’ll still look great on your table. Also, more crafting and gluing are required.

Additionally, you’ll find the 3D printable columns with three thickness options for paper walls, as seen in the free set.
We recommend printing a standard version for a test, then adjusting the fit as needed.
Downsides
We are not trying to trick you, the modularity and the fast-placable structure have some downsides.
No levels: Sorry guys, this design will not let you stack levels on each other, simply nothing can hold the paper base from below. 3D printable raised levels, building it on a box, or a thick cardboard base could do that however, it is your turn to craft something you need, our goal was only to make a system you don’t have to spend days with before using.
Large areas can be wobbly: While smaller structures are quite sturdy, larger areas can slightly move on the map, depending on the papers and how many walls you use to support the structure. You’ll find an example on Kickstarter.
Preparing time: Printing the universal columns takes ~20 minutes each, and 12 custom columns will last 8-9 hours on an Ender 3 machine with our settings. You will need around 40-60 columns for a larger structure and the time of printing can be a downside. Same thing with the preparation of paper walls. While we added cutting marks to help you cut out the walls and it contains mostly straight lines, it still takes some time. However, you have to do these only once and the time you spent with it will surely pay off! 🙂